|
|
I've worked on the drive
section into the night, during morning and afternoon - it's done.
What can I say?
I want my ship.
|
|
|
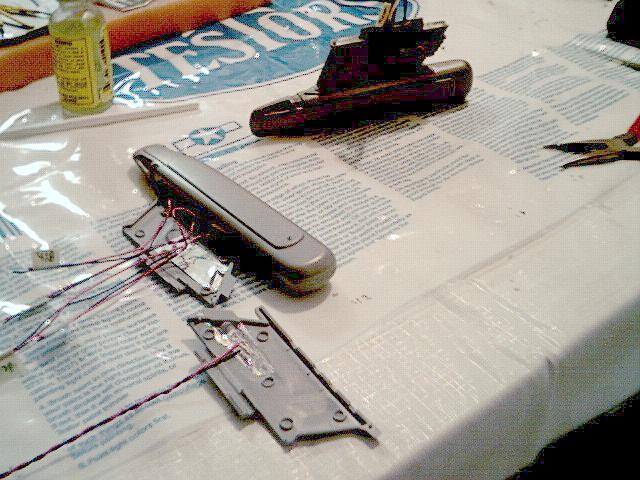
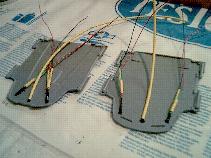
 Placing the struts onto the nacelles was pretty tricky. I
couldn't just place the wires and put the two halves of the struts
together because there was no slack whatsoever. I put caulk
inside the struts around the LED pair to prevent light leakage, but
this meant that when I did put the halves of the struts together I
couldn't pull them apart again or risk getting caulk over the LEDs and
mylar. I feel fortunate - I got them right first try.
Placing the struts onto the nacelles was pretty tricky. I
couldn't just place the wires and put the two halves of the struts
together because there was no slack whatsoever. I put caulk
inside the struts around the LED pair to prevent light leakage, but
this meant that when I did put the halves of the struts together I
couldn't pull them apart again or risk getting caulk over the LEDs and
mylar. I feel fortunate - I got them right first try.
|
|
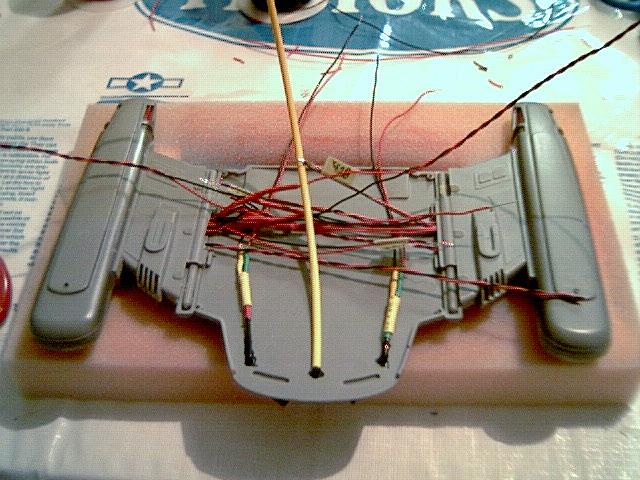
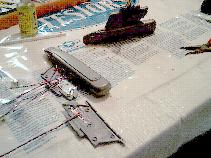
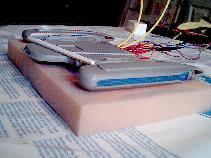
I put the fibre and fibre drivers into the central section first,
because I thought the fibres would be too fragile to install with the
wires present. I'm working in a space a little thinner than a
pencil. In this space I need to put the five paired wires from
each nacelle / strut assembly, four pairs for the central port /
starboard indicators and two fibres. As you can see below, it's
quite a mess. |
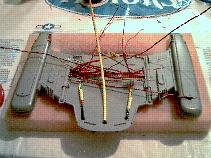 It turns out that I made a mistake when I put the rods into the
central base, which was putting the rods into the central base. :)
With them there, the assembled nacelle / strut assembly couldn't go
in. I had to break the rods, install the struts then glue the
rods back into place. With this done, I then began working out
the spaghetti of wires, joining like to like and bringing their common
lines out the front (bussard collectors together, warp coils together,
etc).
It turns out that I made a mistake when I put the rods into the
central base, which was putting the rods into the central base. :)
With them there, the assembled nacelle / strut assembly couldn't go
in. I had to break the rods, install the struts then glue the
rods back into place. With this done, I then began working out
the spaghetti of wires, joining like to like and bringing their common
lines out the front (bussard collectors together, warp coils together,
etc). |
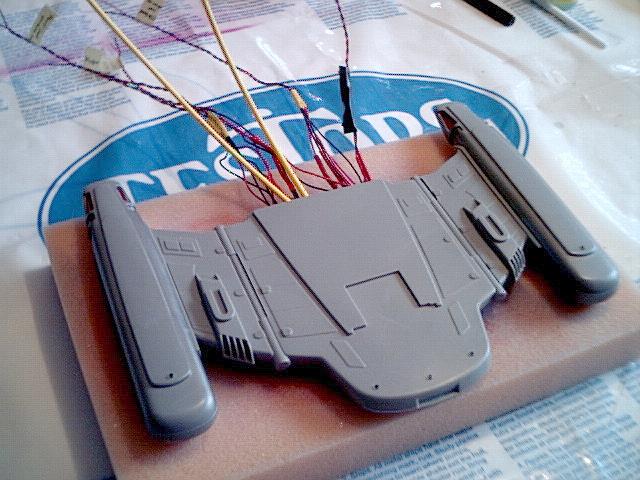
 The "lid", upper half of the central section, was very difficult to
put on once it came time, as there were so many wires and the fibres
were right on top of each other (the two fibre lines themselves are the
thickness of the central section). I had to glue my way from front
to back because the back (shuttle bay) ended up pretty squished.
With slow compression and good glue, though, it got done. (I had
to hold the parts together with high tension for about 10 minutes each
joint sometimes to ensure the plastic weld wouldn't pop open).
The "lid", upper half of the central section, was very difficult to
put on once it came time, as there were so many wires and the fibres
were right on top of each other (the two fibre lines themselves are the
thickness of the central section). I had to glue my way from front
to back because the back (shuttle bay) ended up pretty squished.
With slow compression and good glue, though, it got done. (I had
to hold the parts together with high tension for about 10 minutes each
joint sometimes to ensure the plastic weld wouldn't pop open). |


 |
|