|
Made some good
progress - the pieces were painted (with the back off), then the gloss
finish applied. The decals were then applied, back wall
installed, and while the glue on the back wall dried I created the
ceiling.
Decals - yes, big deal.
I thought I'd hand paint the pinstripes until I started working with
the tiny pieces and realized I simply don't have that kind of skill.
I went to the hobby store and rifled through the many boxes of left
over decals they had until I found two that would suffice - they had
brown lettering (that I could use for doors), yellow pin stripes (that
I can use for the shuttle area) and even little dashed red boxes
(which look a lot like wall terminals from a distance (over 1/4"
away.. :) ) ). Applying the decals was extremely
difficult - they were incredibly small! I think this is giving
me good practice for the outside of the ship, and the 120+ decals I'll
get to apply there.
I also created a ceiling.
The idea came to me while I was figuring out where to put the yellow
pinstripes. I was using some of the brass mesh (which the
platform came from) to mark the areas, and I just figured I could use
that as a ceiling (since the LED can't just shine down on the whole
thing, wouldn't look right). I glued some onion skin paper to
one side, and put some caulk (useful for everything!!!) to block the
light, then inverted it and painted the "inside" black.
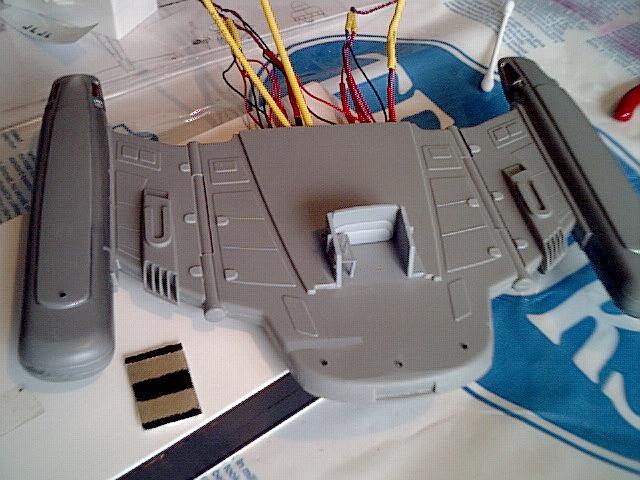
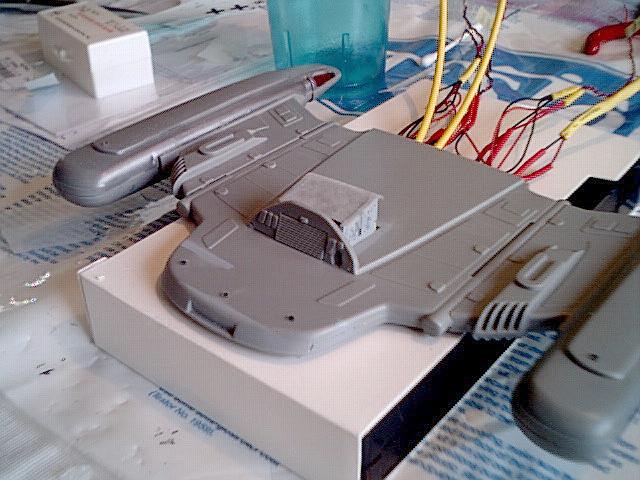
In the pictures below, you
see the back wall mounted, a hint of the yellow pinstripe in the left
picture, and the doors on the right as well as the ceiling.
|