07/17/01
|
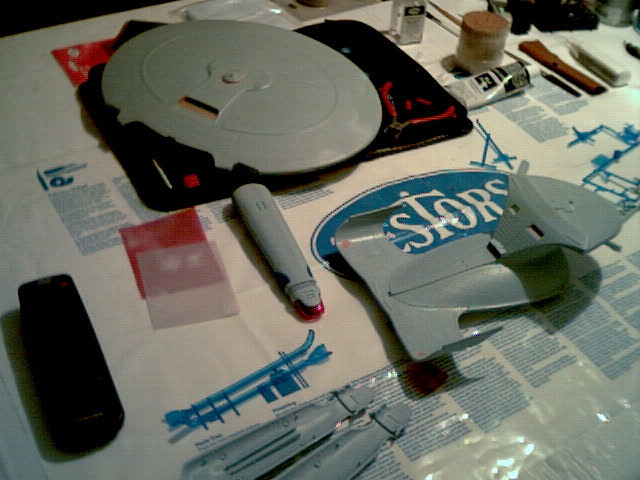
I got to learn about using putty, today... Last night I put it on parts of the rear engineering section where the part forming die put a terrible indentation in it - fixed that right up (lost some of the plastic detailing, but that's alright). I put it in the shuttle bay doors, so that the inside was the same thickness as the outside of the door - more complicated, but necessary work I think. On the other hand, I didn't paint anything inside (the shuttle bays are going to be very plain on this one, which is, of course, just fine). If I had (as I intend to for the Voyager's shuttle bay), it would be much more complicated. I'm contemplating how that's going to go over. Hopefully the Voyager's parts will fit together better... I also used putty on the bridge, as there were millimetre gaps around the whole thing. I learned not to use hole-filling putty for millimetre gaps! It was harder than hell to file down without scoring the plastic - putty wasn't made for that fine of detail without a SHITLOAD more work than I was willing to put into that! I'm thinking that just using cement and using capillarity would have worked a lot better. Where the lower hull meets the engineering section, there is another long millimetre gap - I'll try the cement idea there. ---- I wrote the above after working on it for fifteen minutes. Now it's four hours later - here's where I am:
Assembly of the warp nacelle was a major pain in the ass, and terrible disappointment - if I was serious about this kit I'd be pissed - I'm missing the primary impulse cover (transparent red) I have the saucer section impulse covers (transparent blue, they're supposed to be red) and the transparent blue strips for the nacelles are at least a full centimetre too short! I have been contemplating how I would deal with this on the Voyager; I'd have to get really creative.
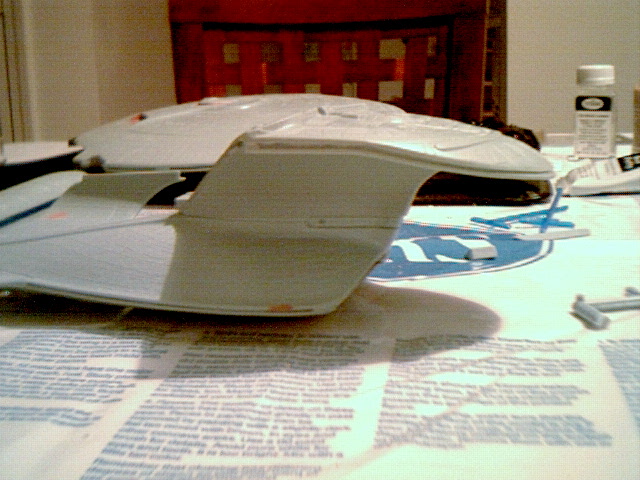
The idea of using cement to fill in millimetre gaps with cement worked pretty well, but it doesn't file as gracefully. To a limited extent I'd rather use the plastic-melting compound and file it when it's hardened. This is pretty dangerous, though, and if I use too much it starts to actually loose basic structure! As you can tell by the picture above, the top of the stardrive section is about a centimetre too short - I got a little crazy with the file.. Definitely not good. This happened because I didn't appreciate where it sat on the stardrive upper supports (thinking it would go a bit more forward). Making sure all the pieces fit right is going to require extensive analysis in the future, can't just go filin' away.. You know what I'm thinking? I'm thinking that I don't regret this, I know it's all going to be worth it. I'm thinking on top of this, I'm a computer person, the manager of Network Engineering for a startup company, and father of one. I'm thinking that it's a good thing I'm not in a relationship right now - she'd kick my ass. |