08/01/01 (Evening)
|
I went to the local RadioShack.Com store and purchased the remaining LEDs. I made the purchases based on size and required luminescence, not consistency of voltage and current. The circuit board is going to be pretty complicated.
Above all, however:
There remain sufficient benefits for me to keep using enamels. To name a few:
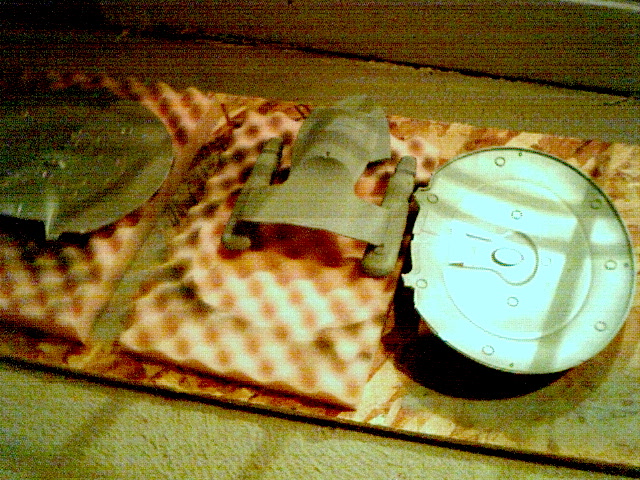
There is another wonderful trick I discovered quite by accident. After buffing the aluminum paint my fingers were quite shiny with particulate. I didn't think about it as I handled the rest of the model pieces (don't forget, we are dealing with the Enterprise-D model here!) and after a while I noticed something that looked like texture on the surface. I assumed it was the base coat, but found that the piece that I didn't put a base on had it, too (and looked a little more refined, I might add). I discovered that if I put a fine amount of this metallic particulate over the paint job, it adds quite a different hue to the whole thing. By fine, I mean I quickly took the same cloth I buffed the inside of the saucer with and ran it over the outer hull, then hit it with the canned air again. I really like the effect - it gives it a less 'sterile' appearance and makes it look like, well, metal. I also discovered I need to mess with the primary hull color - the kit recommends Light Ghost Grey, but it doesn't look right. The original designer recommended Deckhouse Blue (hard to find), and another said he used a variant of Duck Egg Blue. Electrical notes: Working on the locations of the LEDs, voltages, etc. in preparation for final circuit creation and initial identification of placement. I played with the brightness values in relation to each other and what I expect the general hue of the ship to be . My notes:
ohms=volts/amps port
indicators (red)
v=1.8
i=.05
min. resistance : 36 ohms
preferred resistance : 330 ohms starboard
indicators (green)
v=1.8
i=.032
min. resistance : 56.25 ohms
preferred resistance : 470 ohms (to keep same luminescance as red) bussard
collectors:
1 small red LED, pt 8700
v=3
i=.05
min resistance : 60 ohms
preferred resistance : 470 ohms
small piece of mylar coating bottom and top, shining LED directly into it
and down will prevent light leakage. Align
LED so that
it begins to shine where the transparent plastic begins (allowing different
intensities into plastic). warp
nacelles:
2 small blue LEDs per nacelle, pt 8005
v=3
i=.2
min resistance : 15 ohms
preferred resistance : 330 ohms
mylar lining top and bottom of nacelle (also shielding bussard area),
each LED pointing towards the other, and down.
white
LEDs (all windows, flashing running lights)
v = 3
i = .20
min resistance : 15 ohms
preferred resistance - 20 ohms
place mylar beneath each LED to prevent leakage.
One LED per two windows, from across the hull. Onion skin paper over each. window.
deflector
dish - (blue, pt. 276-316)
v-3
i=.20
min. resistance : 15 ohms
preferred resistance : 20 ohms
Pass light through onion skin paper to diffuse on the way to the main
deflector. paint on main deflector
should be thin.
Ensure all cracks and any possible source of light leakage is sealed in hull construction due to internal mirroring. |