|
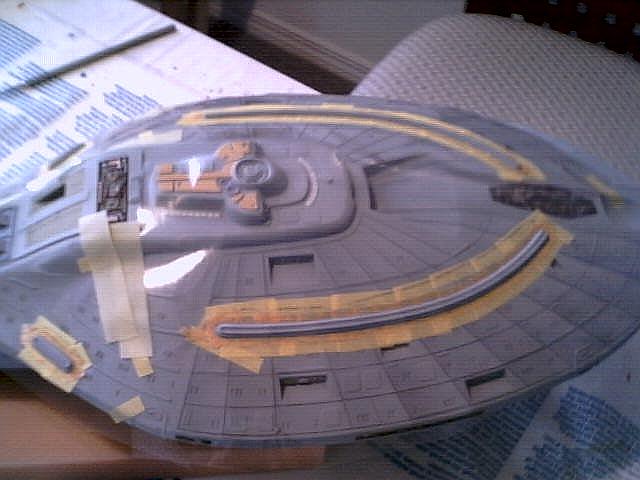
If you look extremely carefully
at the left-most picture, you'll see a hole in the topside of the
starboard phaser bank masking. This whole thing happened because
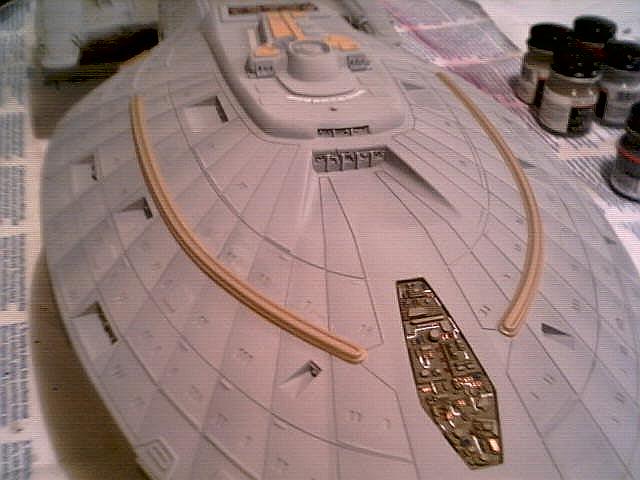
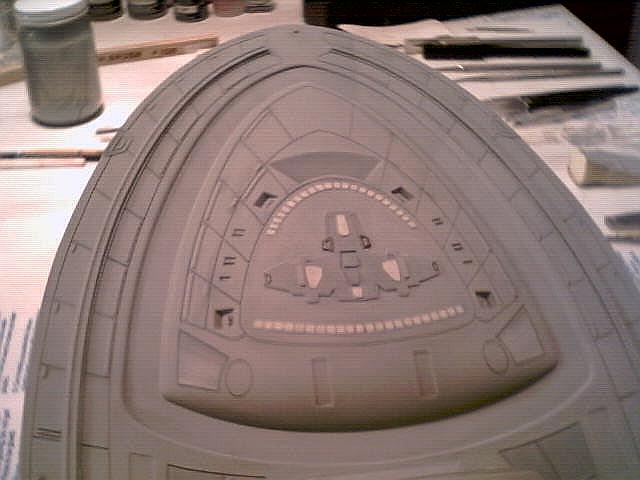
I made a mistake in the mask. The middle and right pictures show
what it looks like now, hopefully a decent correction.
The steps to this mistake were:
- leave hole in mask
- paint phaser strips
- paint hole in mask same color as the hull by hand using a
brush
- remove masking after everything had time to dry
The above steps left too much wet paint
in contact with the smallest masking tape for too long, which in turn
resulted in the adhesive adhering to the hull! This is not
unlike taking rubber cement and putting a little drop here, a little
drop there...
Needless to say it was horrible to try
and fix (which I am desperately hoping I did satisfactorily).
You can't sand it off because it goops up the sandpaper on the first
swipe. This being the case, I took the smallest and sharpest
dental tool and scraped over it (for an hour) and removed it bit by
goopy bit.
I then had to try and replicate the
Aztec pattern I made with an airbrush by hand! With a little
practice from drybrushing the sensor panels, I think I did an alright
job but I know it's not perfect. I'm hoping that after the gloss
and flat lacquer are applied (from decaling) that the difference will
be negligible.
|