|
A lot has happened -
what's left is the actual construction of the nacelles.
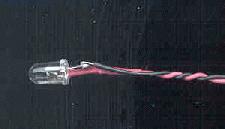 The LED for the bussard collector was easy enough. I put a piece
of shrink tubing on the positive pole to prevent the possibility of
short.
The LED for the bussard collector was easy enough. I put a piece
of shrink tubing on the positive pole to prevent the possibility of
short. |
|
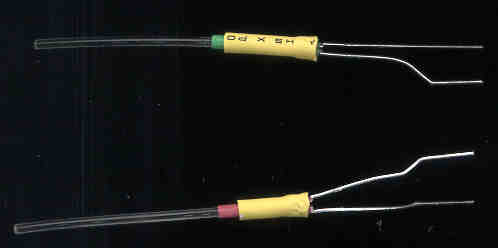
I've figured out how to make the
fibre-drivers for the port / starboard indicators! If I say so
myself, I'm extremely pleased with the results.
I used larger diameter shrink tubing that was originally purchased for
keeping the mini (crew quarters) fibres collected. I shrank it,
and its shrunken size was perfect for fitting around the mini LEDs
(very, very tight fit). I then put the appropriate color shrink
tubing around the fibres, glued them in place, then inserted the
assembly into the collar on the LEDs. After confirming fit, I
put a drop of transparent glue on the very tip and inserted it (much
like threading a needle), then super-glued the whole assembly
together. The result is
a perfect light at the end of the fibre. I think I'll need to
reduce the resistance values for these things - they're very bright.
|
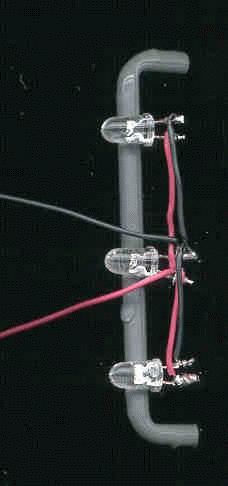 The warp coil LEDs (bright blue) have been wired in parallel.
Please note - they won't work in
series! If anybody knows why, please EMail me!
I bent the wire upwards so that
I could scan in the assembly, but they'll actually stick out to the
sides, exiting the warp struts. This assembly could be used as a
flashlight, as the resulting light is a brilliant blue. So
brilliant, in fact, I'm certain that I'll need to diffuse the light so
you don't see three distinct light sources through the plastic (even
if it is painted) - I'll probably put some onion skin paper in front
of the plastic or around this assembly to do this. |
|
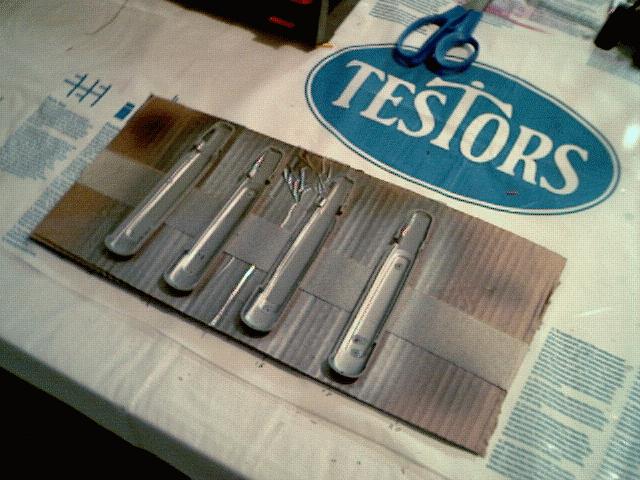
Below is a picture of the nacelles.
I taped them to a backboard (inverted the tape in a loop around the
cardboard) to make it easier to work with them. They were masked
with caulk, then painted black, then painted silver / aluminum.
I've since removed the masking and cleaned the caulk off (like using
an eraser, there can be little bits everywhere) in preparation for
mounting the components and final assembly. 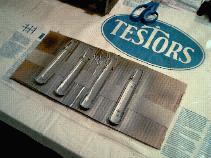
|
|
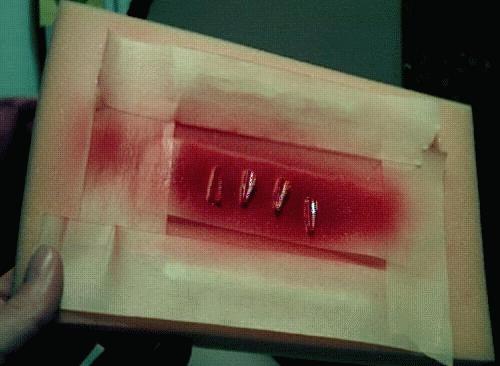
Here is a picture of the plastic pieces
that will be mounted in the nacelles for the bussard collectors.
I've discovered that if I just paint them the right amount (pretty
heavy on the paint), then it will actually pool in the middle and
won't provide consistent hue. So, I've been painting them just a
little over the last couple of days while I worked on everything else,
then putting them under a protective piece of plastic while they dry
so they won't get dust on them. You
see them below mounted to a piece of foam masked with caulk, then
stuck to the foam with inverted masking tape that's been masked to the
foam. :) The two white horizontal stripes are the masked warp
coil pieces - instead of keeping track of them and worrying about
their being kept clean, I've put them beneath the tape since I'll be
using the same foam assembly to paint them in the same manner (with
the Blue Pearl paint).

|
|
With all this done, the next part is the
painting of the warp coil plastic, then the actual assembly of the
nacelles. The hardest part of this is going to be attaching the
mylar paper (not the easiest stuff to work with, especially when you're
picky), and especially the gluing of the bussard and warp coil plastic
in place. They don't have little pockets like everything else,
they're instead free-floating within the nacelle plastic.
I think I'll tack them in place, then cement them in place more and
more, gradually, until they're solid. I'm going to mask the
outside of them again for the final painting of the ship, so their
mounting must be solid. If they cave in while I remove the
masking, I'm pretty much fucked.
|
|
|