11/13/02

     Today I finished the phaser strip I missed (.... ), and worked on the deflector emitters and the primary deflector amplification grid.

     All these steps required an orange mix of international orange with light grey.  This mix was way too bright for my ship (along with all the other color modifications I've made) so I toned it down with braunviolett.

     I first painted the amplification grid.  This was especially tricky because I had to paint the raised ribs with the mix without it running down into the rest of the part.  I tried to drybrush it but the paint was way too thin for this transparent plastic, so I had to find a midpoint between dry and too wet!  It was also hard to see, again, because the part is transparent.  It took two coats.


     I then worked on the deflector emitters themselves.  As you can see by the photo at right, the detail was difficult to obtain with a paintbrush on an item barely the size (and less than!) the size of a quarter.

     I'm very pleased with the results.


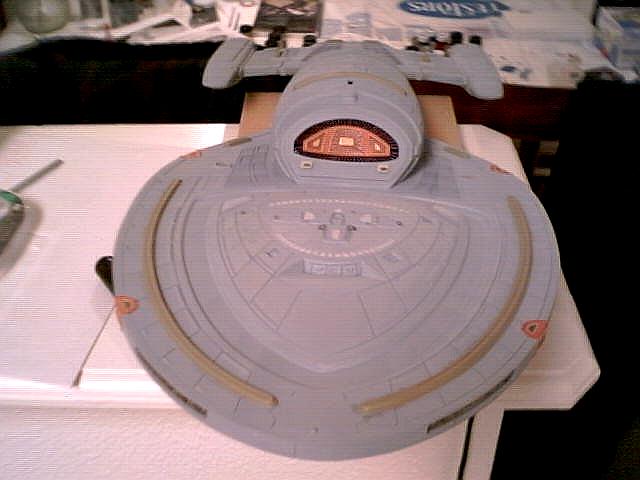
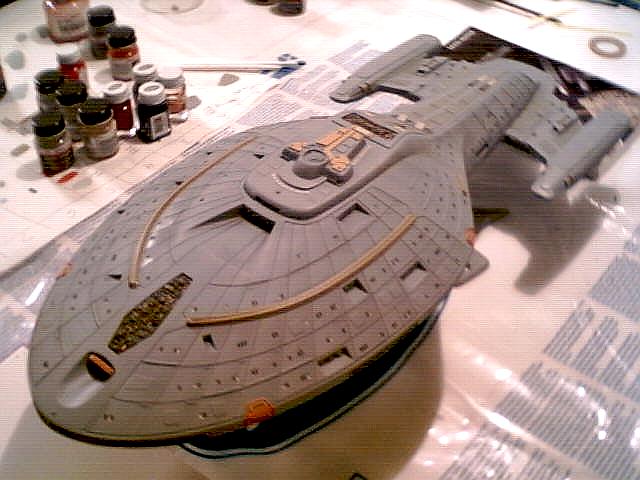
     I was then ready to lacquer the ship, but realized that the windows hadn't been done yet!  I figured that I should seal the graphite (used for non-lit windows) with the lacquer, so I completed this step.  Sasser waited until the second to last flat lacquer coat until he did his windows, but I figured the more lacquer over the graphite the better.

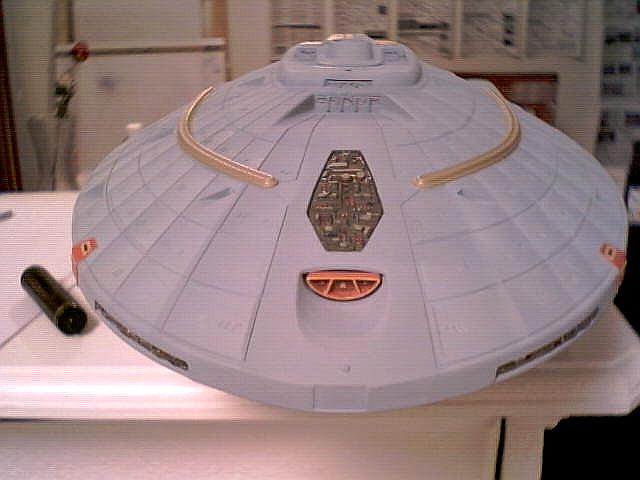
     I removed the caulk plug over the electrical port and plugged in the ship so that I may see the fibre in the windows.  I tell you, it was a real moment to see all the lights come on how I left them June 27th!

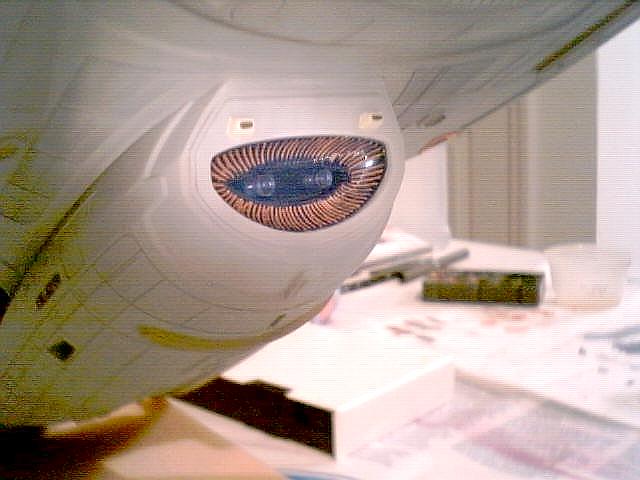
     Upon completion of this step all the windows light up perfectly, and I am pleased with the brightness of the blue light behind the primary deflector - it's not too bright and not too dull.


The primary deflector emitter looks crooked here - it's not, just the shading of the photo. :)


Here is the ship with gloss lacquer applied, ready for decaling!