Trichomes contain everything we want from the cannabis plant – not the leaves, not the stems, not the “bud”, just the trichomes – and Frenchy Cannoli has a number of YouTube videos available that will walk you through the process.  This is a summary and shows what I did, but for general details you’ll want to refer to his work.

Washing and Filtering

There are many videos on YouTube that encourage what is frankly goofy shit: mixing the plants in a blender, letting them sit for days on end in water, hand-mashing and thus macerating the plant into the water… It’s absurd.  The rules of thumb are:
  • You need cold, either icewater or dry ice. This is because trichomes and the resin therein is unbelievably sticky. The water must be freezing cold at all times or you’ll just gum up your machine and it won’t filter properly.
  • Don’t mash up anything, use water.  Specifically, what is effectively a little washing machine so the current does the work for you.
  • Frenchy Cannoly hs a really good point, which is to put all the filter bags in a tower. Don’t pour it all into one bucket, then that bucket into the next, and then the other, and then the last bucket…  Stack ’em all into one tower and let it flow through all in one go.
  • Many use razors or butter knives et al, which are completely unnecessary and undesired. Only ever touch the trichomes with water wherever possible.

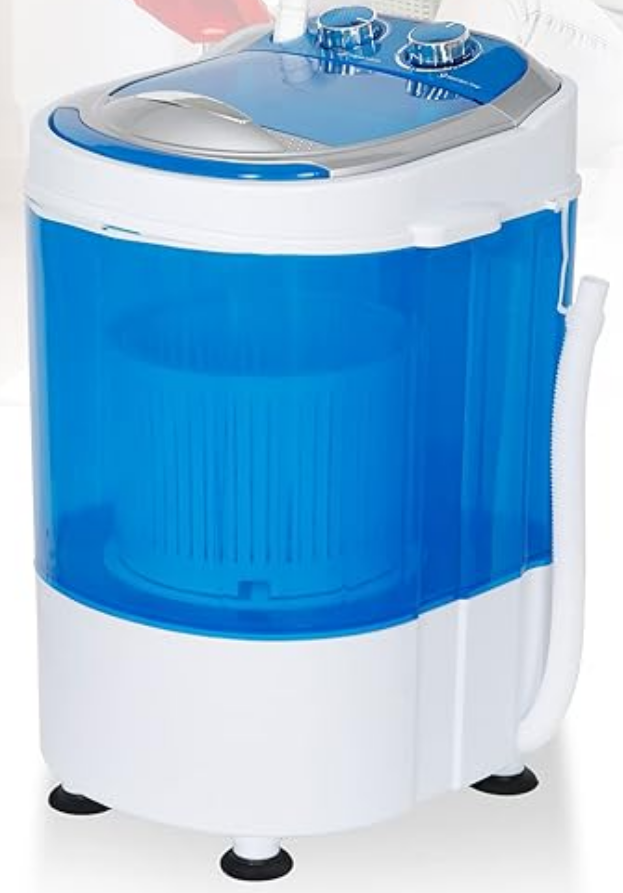
The one tool I’d consider mandatory at this stage is a little washing machine such as the one pictured at right.  Sold on Amazon is single-apartment small laundry washers, these little guys are crucial to making good bubble hash.  Stirring by hand will macerate the plant matter into your hash adding more impurities than medicine – you require good water current.

You don’t need to buy one marketed for bubble hash specifically, any ol’ one will do. Don’t put your dehydrated plant matter into a bag, just let it spin free in the compartment.

Follow Frenchy Cannoli’s instructions: put ice on the bottom and sandwich the plant matter with ice on top and then let it get cold, but don’t use so much ice that you hear it knocking around, grinding up the plant matter into the water to be poured and filtered.

The video below shows the water current, which is definitely strong enough to knock the plant around and yet not cause destruction of the plant fibers, polluting your product. You’ll be washing the plant matter again and again, upwards of 12 times, longer and longer each time until your filters (excepting the first one of course) have nothing in them.

When it comes to bubble hash bags, you can get a plain kit with 5 bags as pictured at top, then stack them from largest aperture size to smallest. I used Home Depot buckets and cut them down with a jigsaw (fine tooth blade) so that they’d stack and leave enough room between bags.  Something to note is the finer the mesh, the longer it’ll take for water to filter through. As such, the top layer doesn’t need as much space to the next layer, whereas the bottom layer will need a full foot of room above it since you don’t want the water to contaminate the bottom of the bag above it.
 
You’ll read and see a lot on YouTube about which micron filter provides the “highest quality” hash, as if 160 micron yielded better material than the 90.  It’s all bullshit – trichomes themselves come in different sizes, but their content is molecularly the same. The only exception is the very first layer that contains plant matter – toss that material right back into the washing machine for the next cycle. When making bubblehash for medicine, you need every trichome of every size, and everything contained within.
 
Lastly, Frenchy Cannoli notes that you need to keep the filters clean of obstruction or they won’t filter. You can clean them in rubbing alcohol, and I was absolutely struck to find out just how much resin you can get from it!  Using something like a pyrex pie dish, put a good amount of rubbing alcohol in it and wash your bags off in this as needed, then rinse the filters off with water before continuing to use them.  When the project is all done, you’ll have this plate full of rubbing alcohol and mess: let it sit out with a small screen over it and let all that alcohol evaporate off (absolutely all of it, you don’t want any alcohol in it whatsoever).  Use a flat razor blade to scrape out the contents and you’ll end up with a pretty striking amount of hashish to add to your pile.  I did test this material via The Good Lab in Colorado Springs: it’s chemically identical to the rest of the bubble hash you’re extracting via filtration bags.

Trichome dehydration

At this point you’ll have collected a series of wet blobs of hash, and if you touch it with anything you’ll find it’s ridiculously sticky.  Handling it takes practice so it doesn’t get everywhere and stick to everything!
 
Place the blob(s) on the finest 25 micron mesh and gently mix it all together. This will help mix all the filtration layers together, eliminate air pockets and move the water outside of the blob.  Then, let the blob flatten as you place it on parchment paper, preferably on a grille or other vented surface as pictured.  This will encourage the water to evaporate from both top and bottom as quickly as possible.
Prevent dust from getting on it, and put fans near it blowing indirectly.  Depending on your ambient humidity, it won’t be long until it dries, perhaps a day or three.

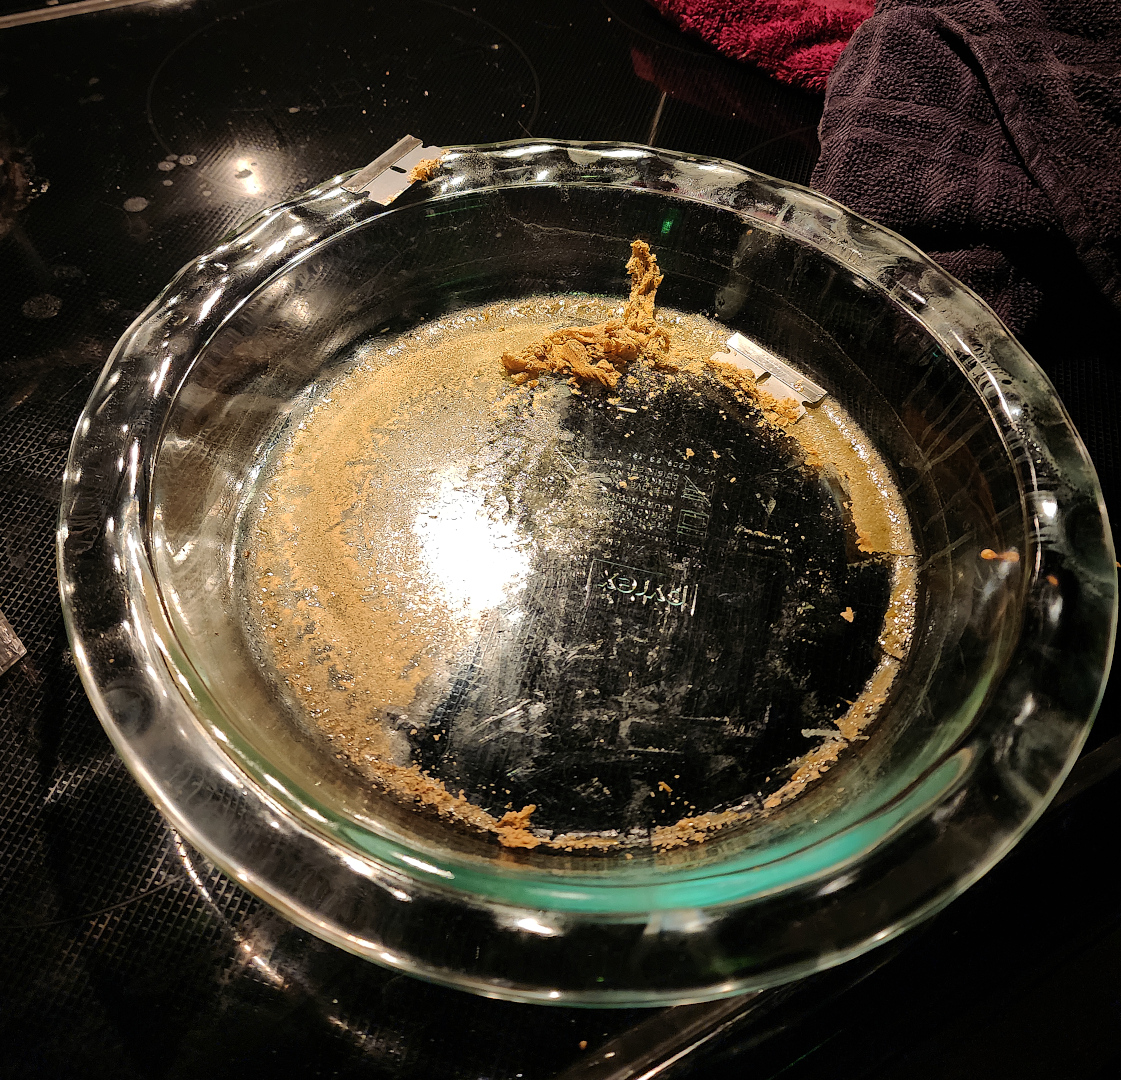
It’s going to change color a bit, get dark in some places and have little white pocks in others – this is normal.  What you MUST not have is mold, indicated by spider-web-looking interconnected hairs over the surface.  See the previous article for details.

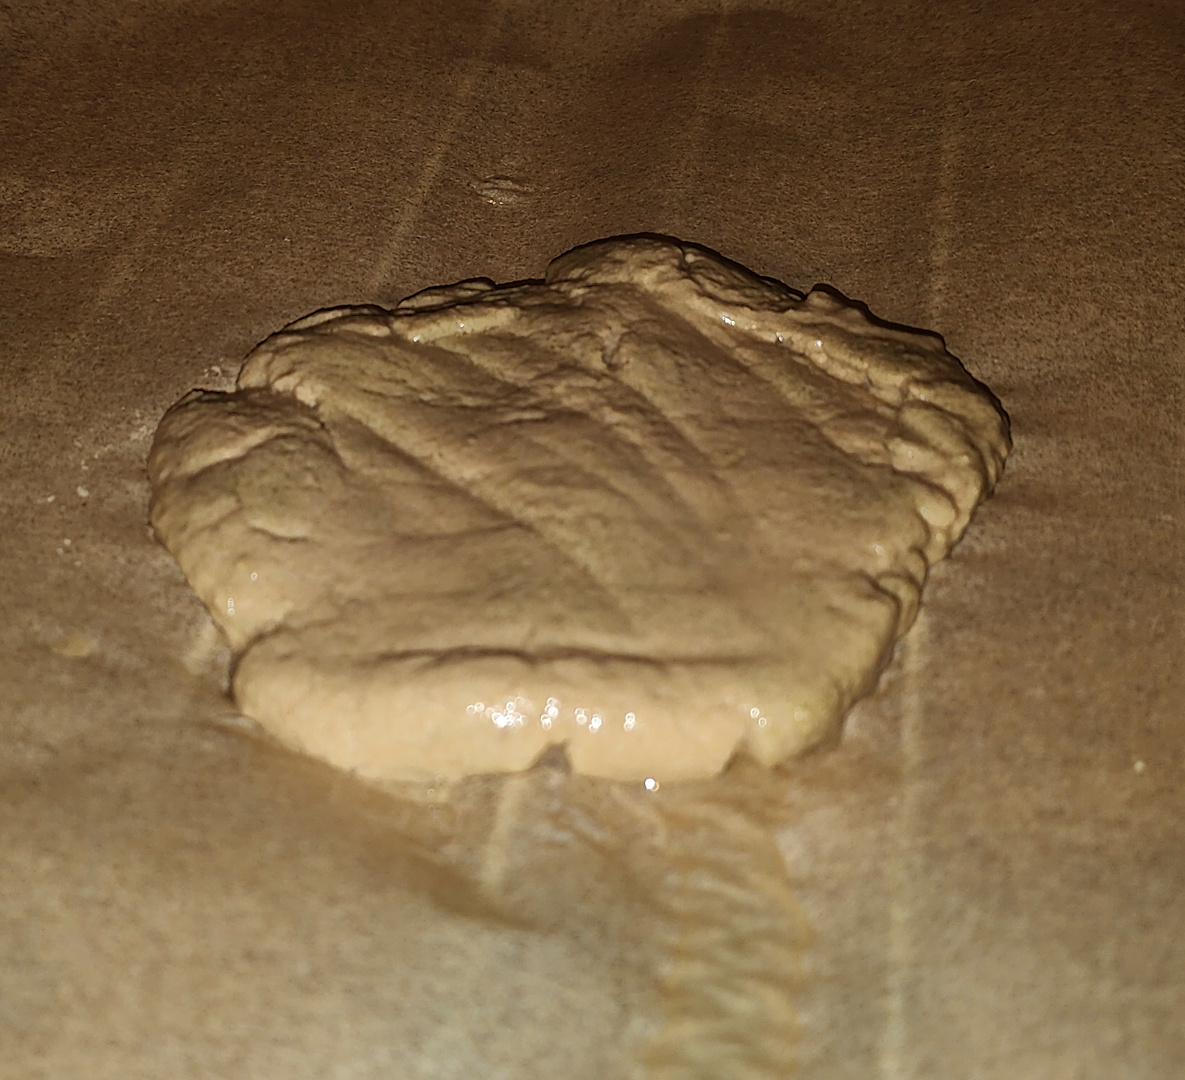
It’s important to not have any water in the hashish – press it thin and let it dehydrate as efficiently as possible.

Some people run the hashish over a microplane to break it into tiny chunks, but it’s SO sticky I didn’t dare make that caliber of mess.  I propose making it a thin patty and letting it dry with a fan in the room blowing air indirectly.

Decarboxylation – what doesn’t work

Back to YouTube and “bro science”, there is a lot of misinformation out there when it comes to decarb’ing your hash.
 
The upshot is that you’re heating up the molecules to remove the acids: THCa becomes THC, CBDa becomes CBD, etc, etc.  This requires three things: temperature, pressure and time.  Not unlike pasteurization, the cooler you run the more time it’ll take, and also like pasteurization there is a minimum temperature.
 
Food dehydrators won’t reach this minimum temperature, and since there’s no pressure, no amount of time will decarboxilate your hash correctly. The image below is from my dehydrator and after an hour and a half at max temperature the ball looks cooked and flawless, but The Good Lab tests show that it was 41% pure THCa.

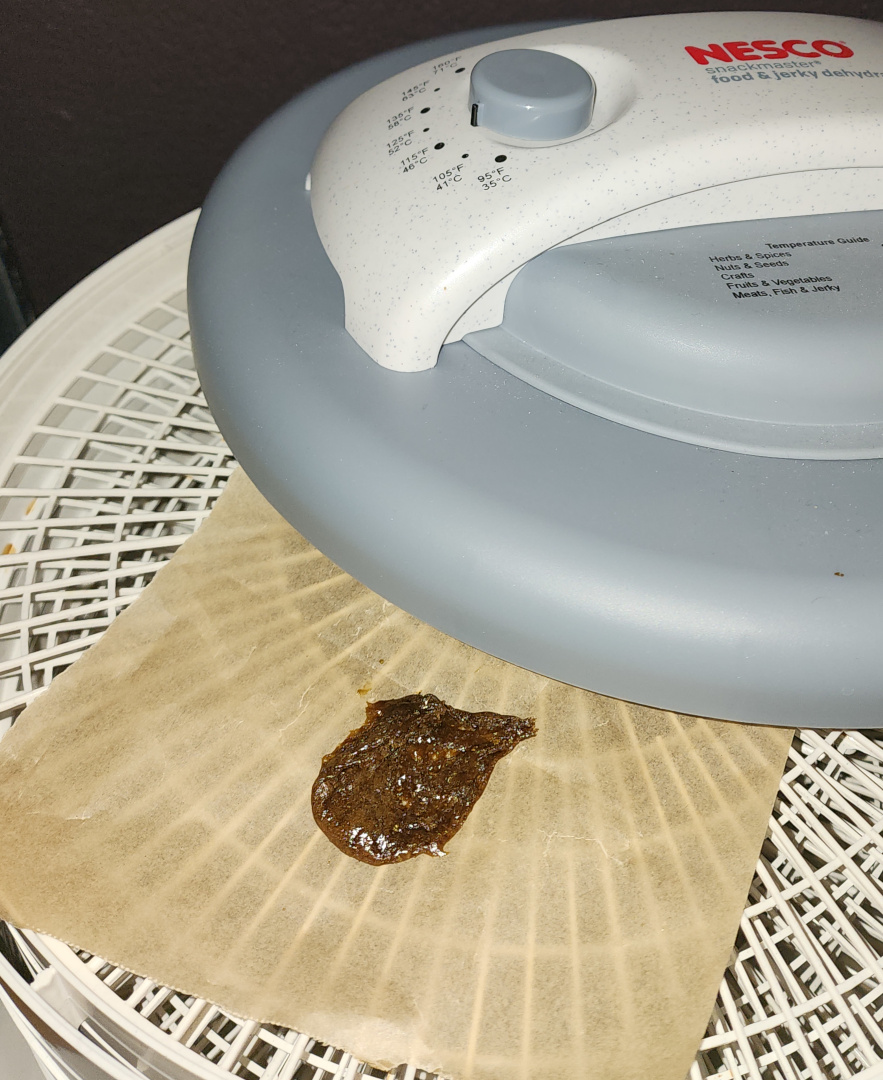
Decarboxylation – what does work

Frenchy Cannoli’s method of putting the hash within cellophane plastic, pouring boiling water into a wine bottle and rolling that over the hash is the way to go. If you’ve ever used a crockpot, crockpot liners are exactly the kind of plastic you need.  Do NOT use Saran Wrap or similar, thinner plastics, nor should you use aluminum foil because you need to see what you’re doing and it’s not strong enough.
 
Water boils at 212 degrees Fahrenheit, which is the very minimum you need for decarboxilation. When combined with pressure, this ensures all contents (such as CBD, which easily degrades) are in tact and you have a medicinal-grade result. If you use the old school oven method or even Cannabutter, you’ll almost certainly overheat the concoction.  If you want to make Cannabutter, finish the temple ball project and then drop some of it into butter and dissolve it, you’ll get an infinitely superior result.  Be careful though, this stuff is super concentrated!
 
The key to this method is both temperature and pressure: squishing the hash “pops the little trees”, moving the resin out from the trichome.
 
Again, taking this squished product and working with it can be incredibly frustrating because it’s so f’ing sticky..! Always wear nitrile gloves, never touch the material directly and it may help to put the warm plastic on a cold counter before you work with it. To clean up, clean with rubbing alcohol, then soap and water.

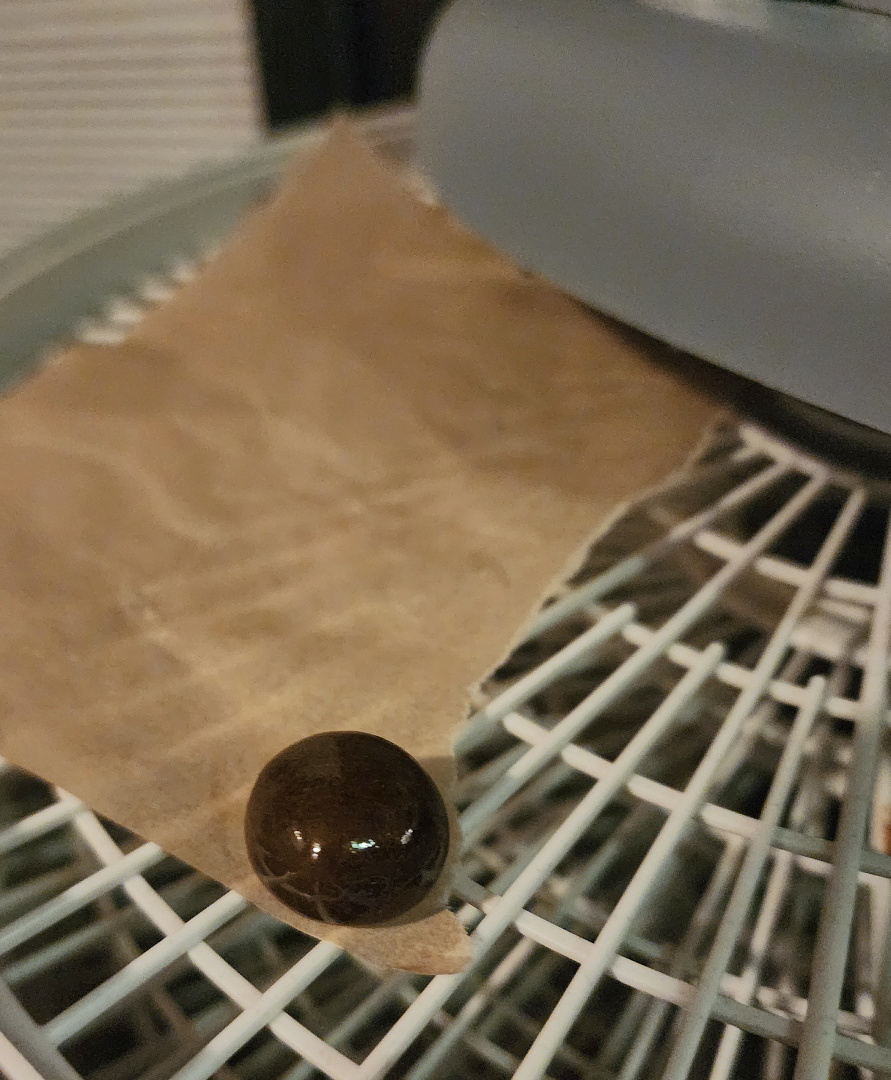
The temple ball result

Be careful – you now have an extremely potent temple ball of hashish. Just covering the tip of the tines of a shrimp fork and putting that into your mouth will stone most people off their ass!  Most temple balls made with this method and in this amount sell for upwards of $1,000  on the open market – it’s super concentrated and should last you a good, long time.
 
Don’t be cavalier – follow the math and measure out your appropriate dose carefully, or you’re just wasting medicine at best.

Once you have the decarboxilated hashish, use a T-Check tester or take it to a lab to get an exact percentage and concentration. From here you can do the math to determine how much hash to dissolve into coconut oil (or butter, or whatever) and then measure out your dose.

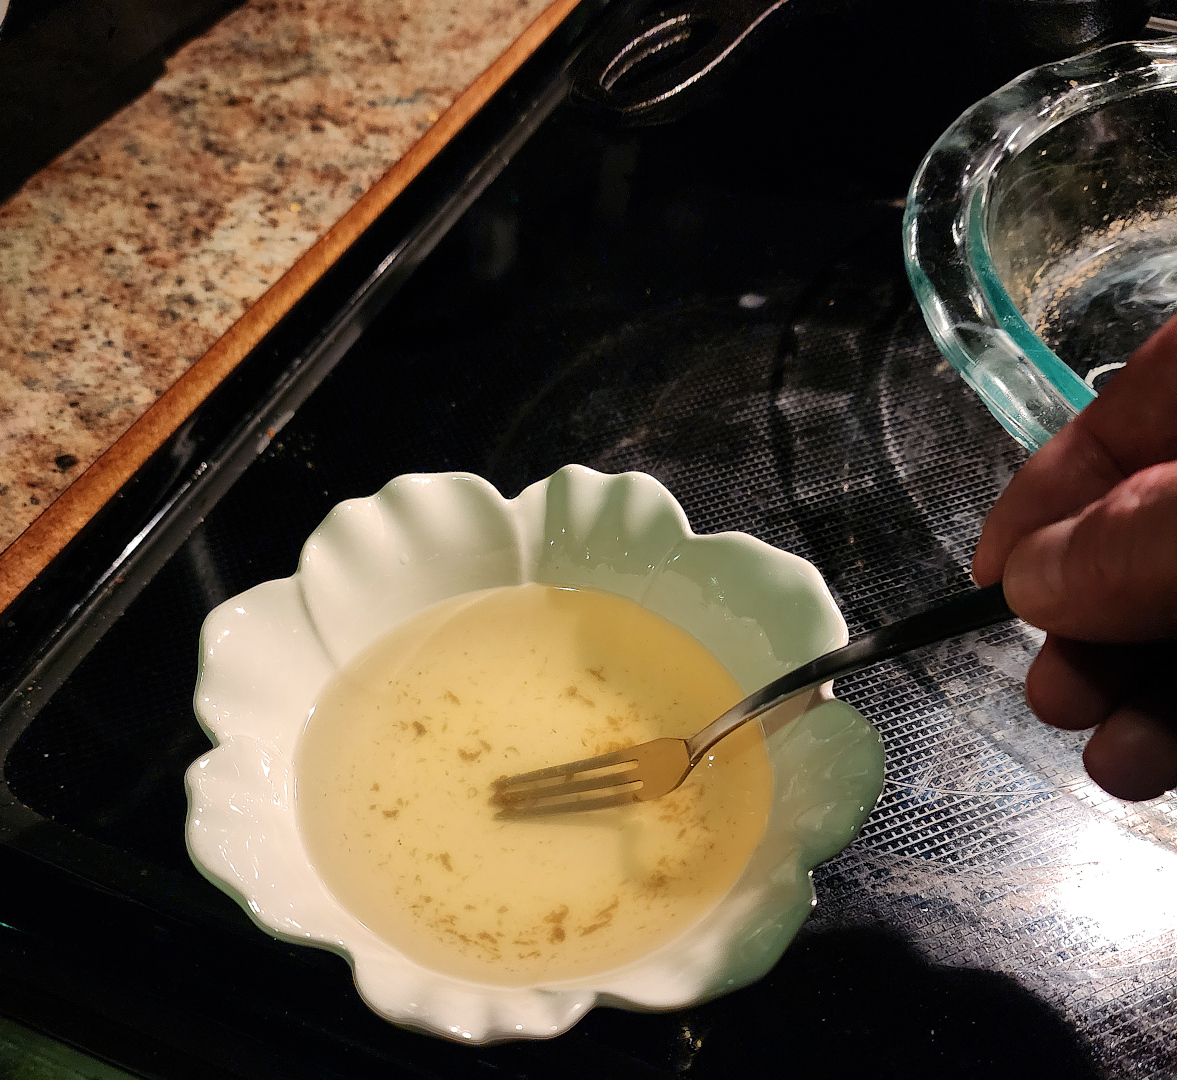
I’m aiming for 15 milligrams per milliliter.  This way a few drops under the tongue is a good microdose for the day, a half measure is good for pain and a dropperful will put me on the couch and cure my ills.  Obviously, dosages vary per person.

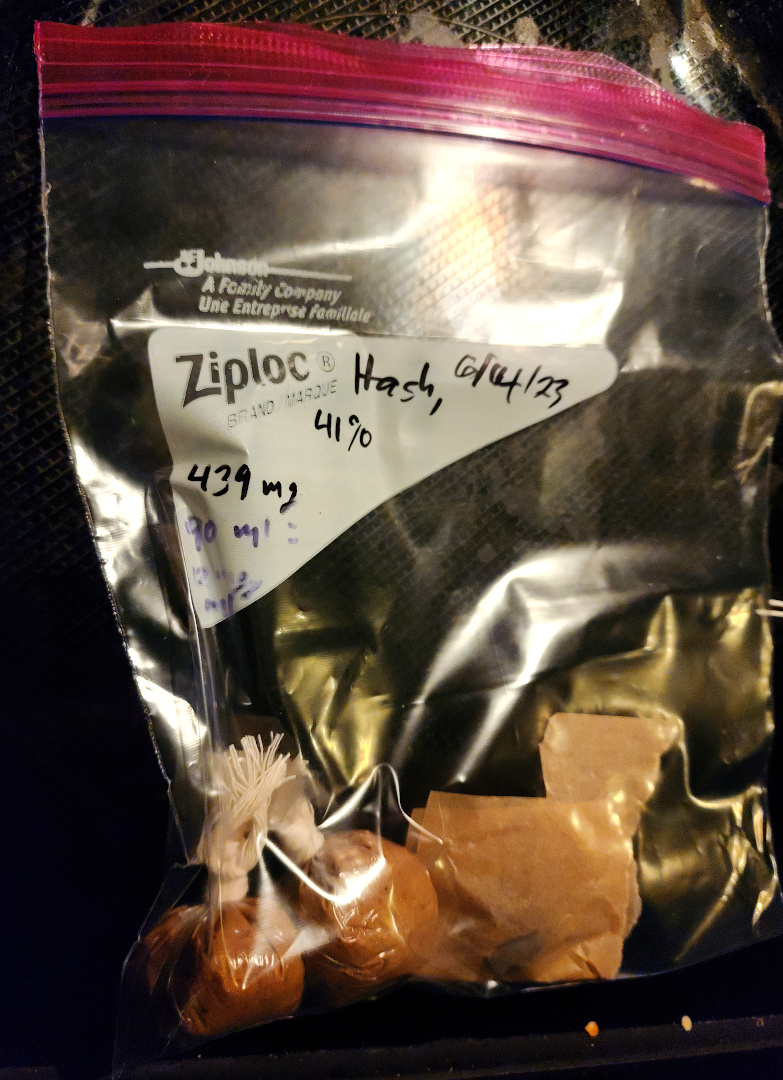
In my case, 439mg dissolved into 90ml of coconut oil results in 15mg / ml, as demonstrated below.

Store your temple ball within the same cellophane you used to decarboxilate it, but make damn sure there’s no air within the ball or outside of it.

You’ll find that over months, it’ll change color into a dark brown – this is okay, as it means its curing and the remaining acids within the temple ball are balancing themselves out. It’ll be better in three months than it was today, and it’ll be even better in a year or two! Temple balls age phenomenally well.

Leave A Reply