Censorship is saying: 'I'm the one who says the last sentence. Whatever you say, the conclusion is mine.' But the internet is like a tree that is growing. The people will always have the last word - even if someone has a very weak, quiet voice. Such power will collapse because of a whisper.”
I’ve been asked what my own setup is, which boils down to buckets over a bathtub!
The Dutch Bucket System
Otherwise known as a Dutch Bucket, there are many YouTube videos about how to set one up but the very best reference video is here, by Hydro HowTo:
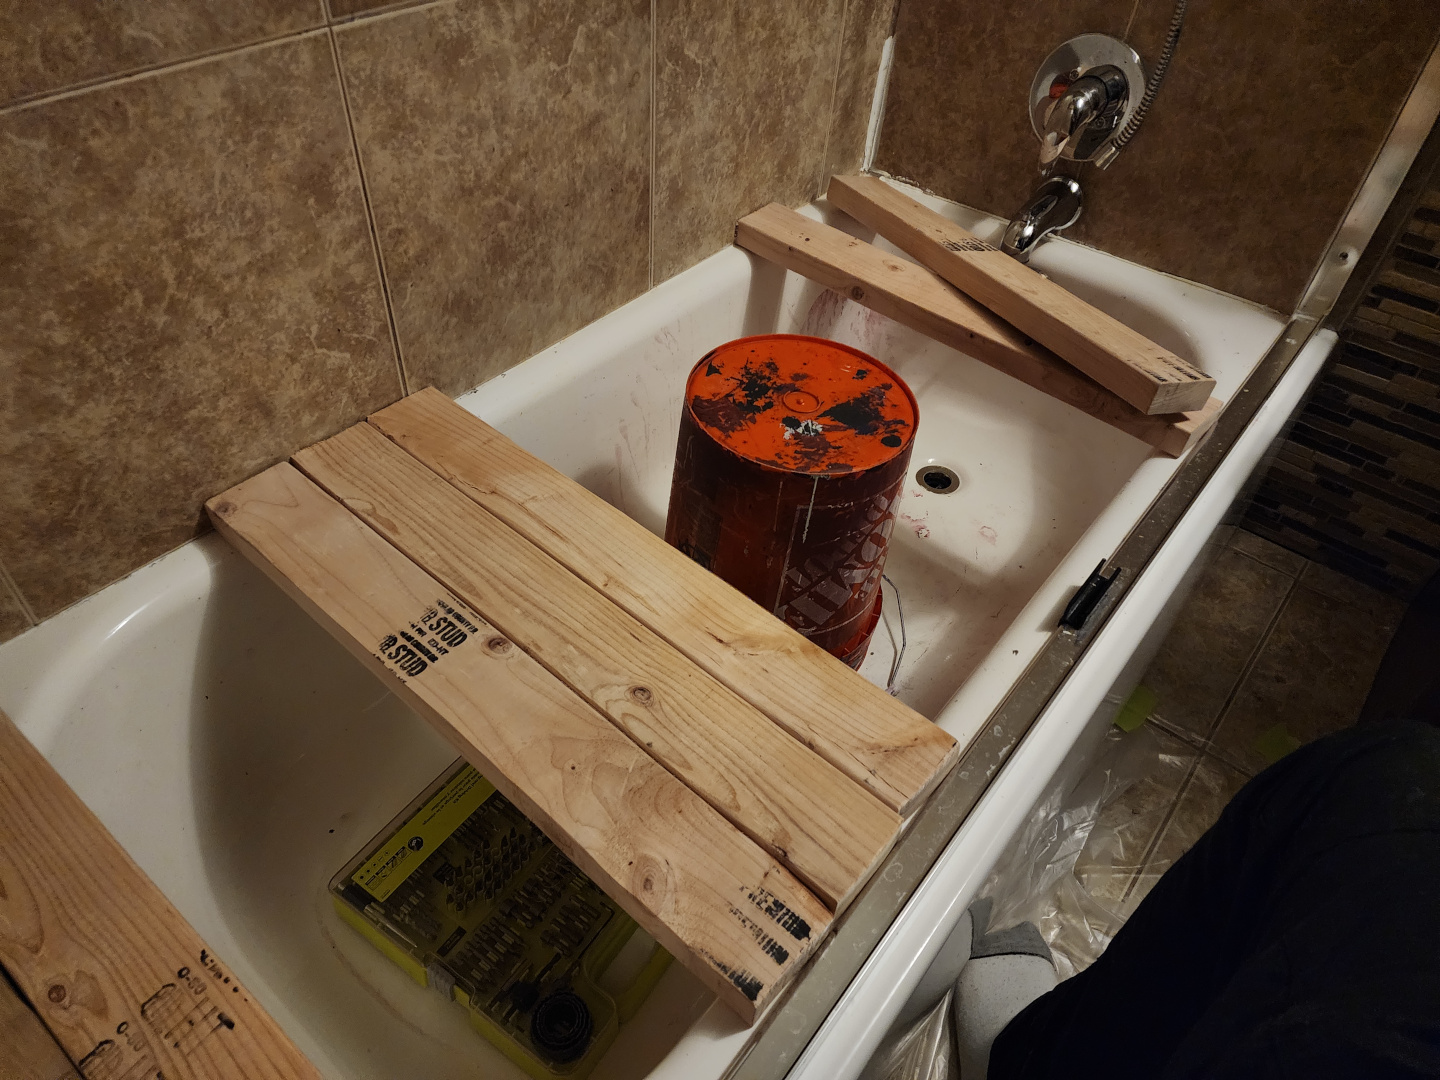
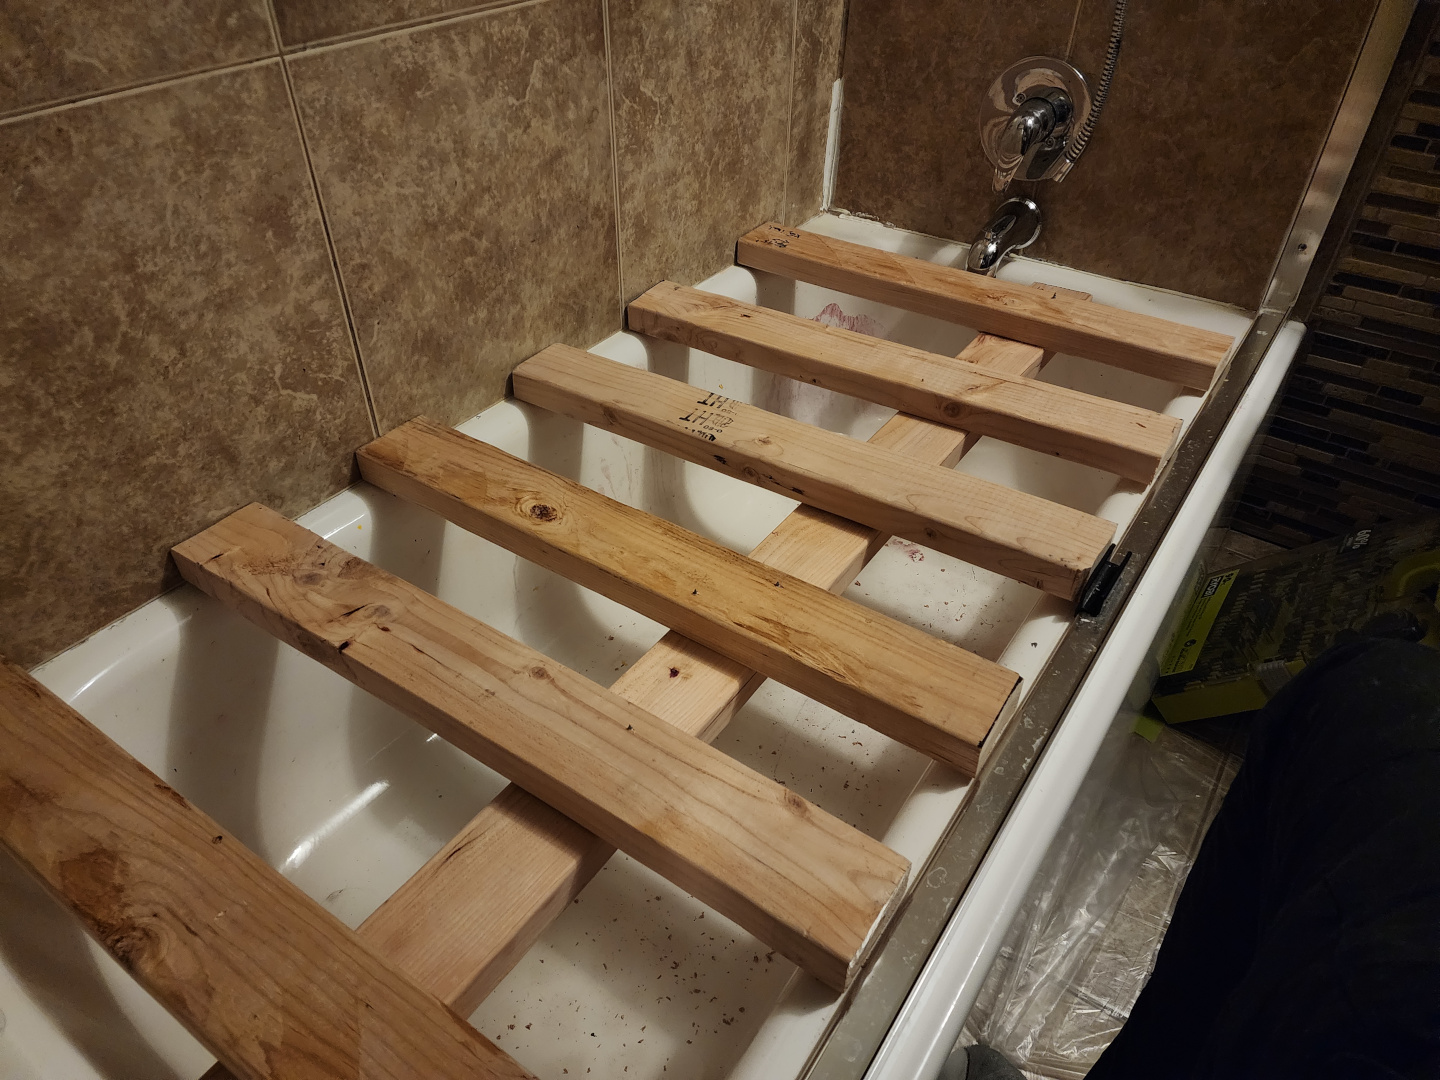
Over the Tub
Since any hydroponic system has the potential to leak, I positioned the whole kit over the tub excepting the reservoir itself, and there’s a water leak sensor right next to it. This setup has saved my bacon a number of times since dumping the reservoir to change out the nutrients would otherwise have been a heavy problem, literally. I could build a deck for the buckets and put a drainage tube beneath it so that the system could be drained quickly and easily. This also has the benefit of making the reservoir easy to fill via the shower head hose.
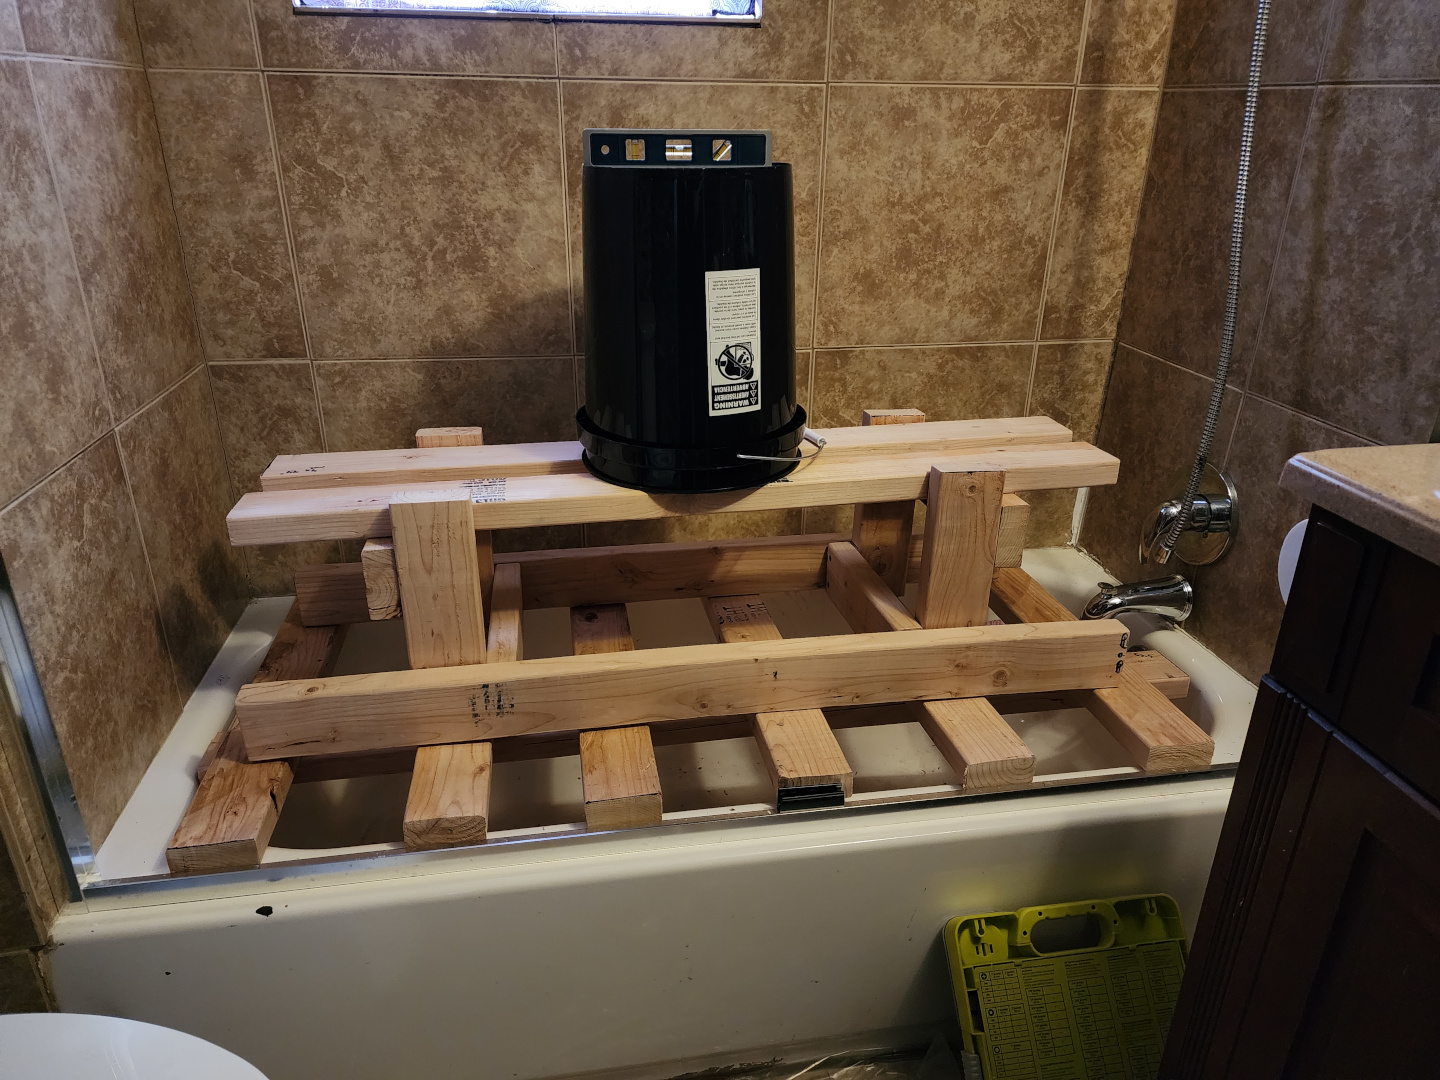
The reason for the second tier is a matter of height relative to the reservoir: with the reservoir being on the floor, if the buckets sat on the first tier there wouldn’t have been enough height difference for them to drain properly.
Note the bubble leveler on top of the bucket in the photo above: it’s crucial that the deck be built level both on the X and Y planes because you need the water to feed straight down to the roots to ensure consistent coverage.
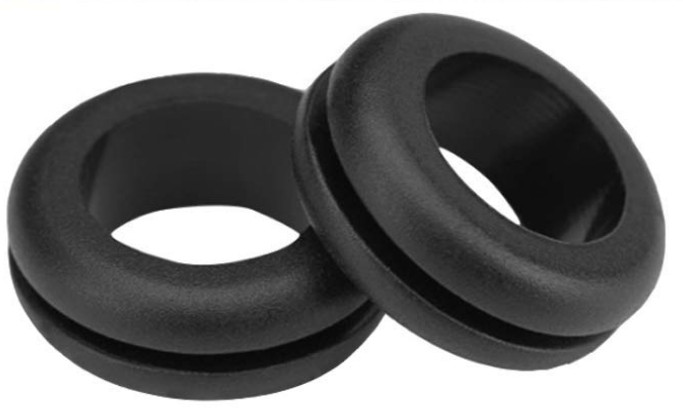
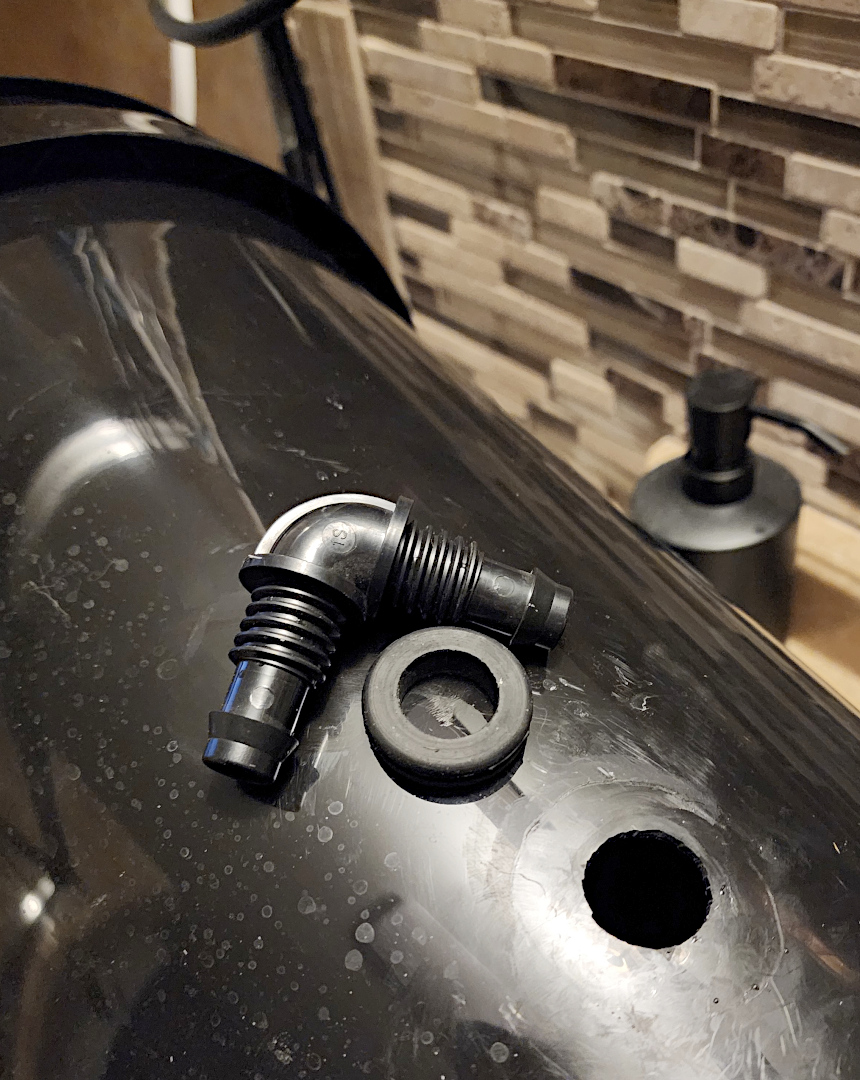
Something you cannot scrimp on is the grommets that connect the pipework to the bucket..! If you notice from the pictures above I initially used plumbers’ putty and basic sprinkler system elbows, but it absolutely won’t work. You need to use grommets like these for the right diameter of pipe you’re using, and then carve the right size hole in the buckets. The fit should be tight – frustratingly so – such that with time and patience you can get the grommet in there and insert the pipe. This is what you need to last the 3+ months of water flowing through this junction.
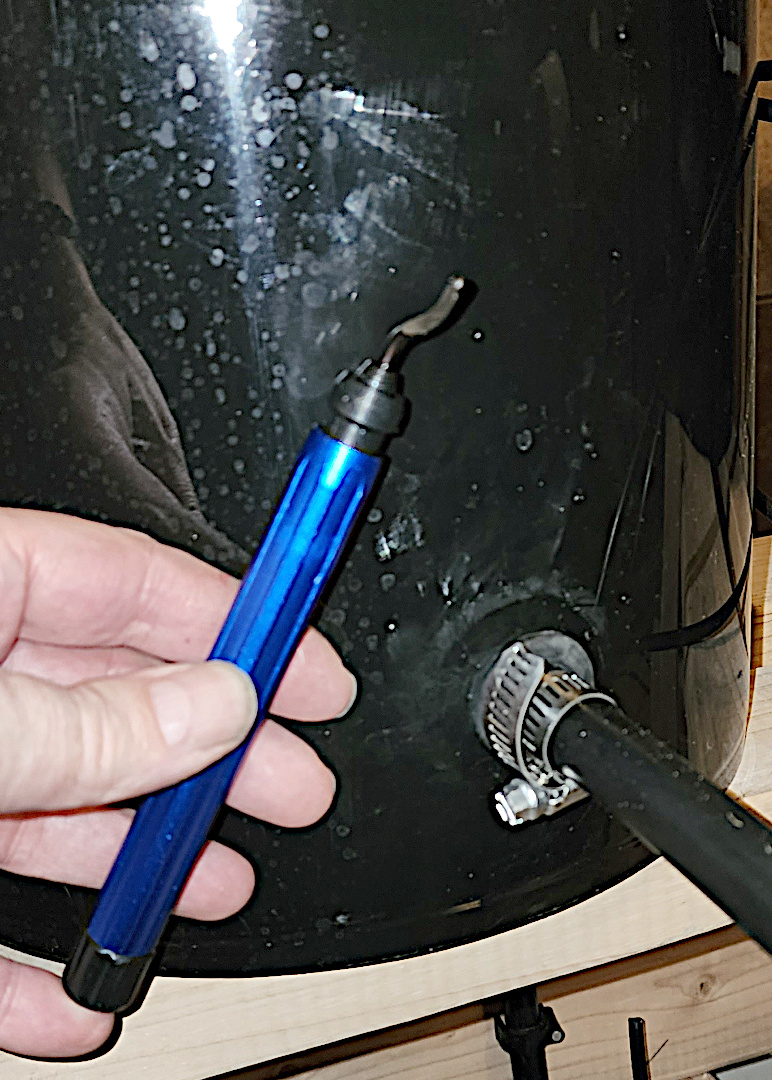
This funny looking tool is super useful for making the circular hole just a smidge larger, rather than using a pocket knife, X-Acto or some other method. It’s cheap and keeps things circular and clean.
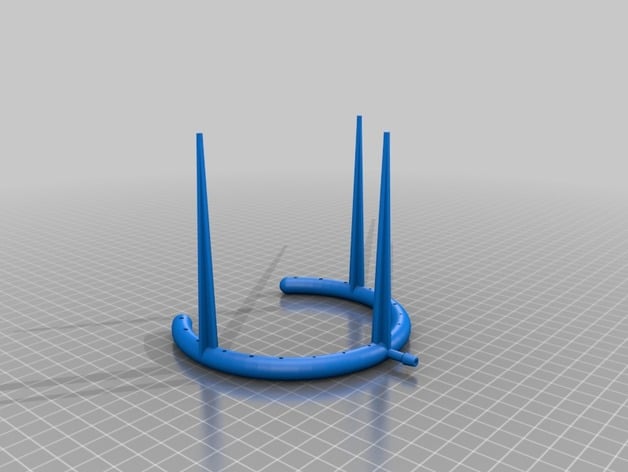
Another thing I’ve discovered is invaluable is a 3D printed watering ring: drip watering hoses work fine, but the roots follow the water so there will only be roots beneath the drip hose. Remember that with autoflowers the plant switches to bloom when it encounters root resistance, so the more it can root, the bigger the plant will be.
These watering rings distribute water around the stem so that you’ll get good, full roots, increasing the size and yield of your plant.
This can be found on Thingiverse – https://www.thingiverse.com/thing:2898785
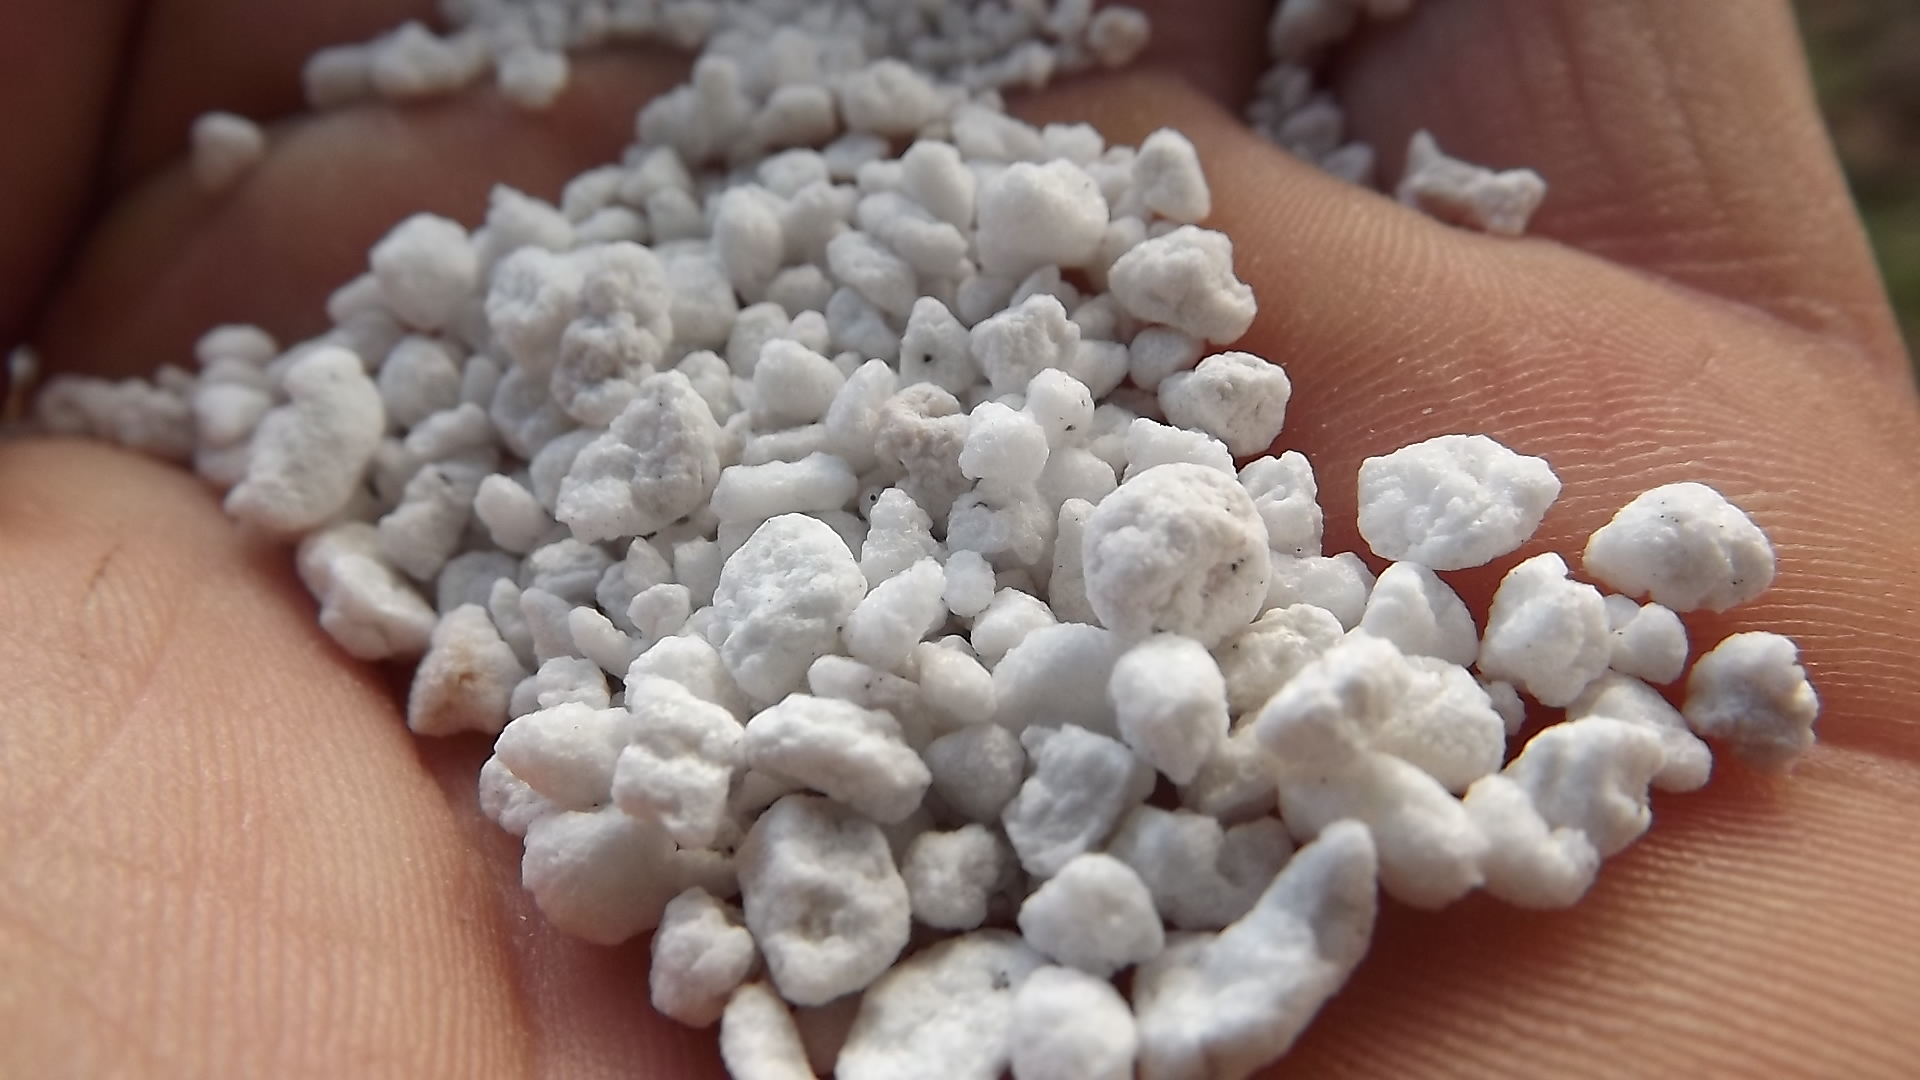
Lastly, I maintain that Perlite is the way to go. Setting up the kit for the second grow cycle 4 months later, I poured the Perlite I’d used before into the buckets to find that the middle – after all that time – was still damp, but there was NO mildew or mold!
During the grow cycle you will get some algae on the top – which indicates healthy water and medium – but to say this stuff is mold resistant is an understatement.