| |
Recommendations from experience
-
Paint
-
enamel vs. acrylic
It's a matter of preference
and the material you're painting. For plastic modeling I prefer
enamel because it binds better to the plastic and the colors intermix
better (apply one coat, then apply another - they mix very well). On
the other hand, enamels are probably the most messy thing I may have ever
dealt with, including fingerpaints! You need to identify the best
paint for your medium first, then establish preference.
-
working with enamel
Wear a filtering mask over
your face if you airbrush enamels - the dusty debris goes farther then you
think, I promise! I considered it just a pain in the @ss until I
found dried orange paint particulate on the side of the trashcan in the
kitchen. If you don't want to sneeze different colors for a week
(not to mention the other negative effects), do this.
Don't forget your latex (and
I mean latex!) gloves before you even open the bottle of paint,
you'll wanna wear them from here on out. Have your paint droppers
ready, don't cross-contaminate your bottles and keep a paint dropper
specifically for the paint thinner. There is no set ratio for
thinning the paint in preparation for airbrush or paint brush, you just
get to play with it and experiment (though for airbrush I'd offer 25-30%
thinner as a starting point).
To clean up, keep a
wide-mouth jar of soapy water and a wide mouth bottle containing odorless
mineral spirits. Soapy water : I'd recommend putting a tablespoon
(yeah, that much!) of concentrated dishwashing soap at the bottom, gently
pour in hot water and swish it around. When it's mixed, put in warm
water and fill to 1/2 - 3/4. At this point, put your parts (bottles,
airbrush tip, etc) in the thinner and get 'em clean, then put them in the
soapy water. Rinse them exceptionally well, then let them
completely dry before next use.
When your paint thinner gets
unusable (or otherwise just too murky), you can now pour the mineral
spirits into the jar of soapy water until it's almost full, then
pour them back and forth until they're very well mixed. You need to
get soap bubbles on top before you can pour it down the drain - add enough
soap as necessary to break it down and get those bubbles, then you can
dump the concoction down the drain with a hot water chaser.
-
airbrushes
There's a general debate as
to whether a modeler needs an airbrush. People have posted on the
'Net that they would never give up their tried and true hand brush.
I vote "Screw it - you need
this!". With skill and practice, I firmly believe you will get
results with an airbrush that you simply can't get with a handbrush.
Think about it - you're dealing with atomized paint, which by nature has a
finer end resolution, if you will, then the tip of any paintbrush.
On top of this, you can mix colors and get hues and drop shadows you
otherwise can't attain.
When I first started this
thing I purchased the cheapest airbrush I could find, figuring that it
would serve me well. Fact is, airbrush quality matters a great deal
- I recommend you don't even bother unless you have at least a midrange
airbrush because you will probably mess up your paint job thinking that
your airbrush should work as advertised - if it's cheap, it won't.
Reference 09/29/02 and
10/16/02 for more information.
Also, if you intend to use
an airbrush get a compressor, straight up. Bottled air is too
expensive, in retrospect I should have gotten one first thing. If
you insist on using bottled air, don't mess with Testor's (it's
disgusting, under pressured and inconsistent) - use Badger.
-
airbrush vs brush
Keeping the above in mind,
the hand brush has its place of course. There were a number of
situations where I needed to hand brush (sensor panels being the best
example), but the Model Master 'Sand' paint was extremely problematic with
a hand brush, so even for a tiny square I needed to use the airbrush.
What does it boil down to? You need both, my friend - practice and
learn what tool is best for the job at hand.
-
Plastic
Hard in some situations and
soft in others, the plastic your model is made of will have different
properties from other models. I was very surprised to find the plastic
on the Enterprise-D responded differently to different glues and paint
combinations then the plastic the Voyager was comprised of (reference
8/23/01, I tested this on the
Enterprise-D and it worked just fine!). Use the parts sprue for
experimentation.
Use glue sparingly, especially
the plastic-fusing glue as it really doesn't take much. Try to orient
and shape your parts to have a seam that would conduct the glue
instantaneously from one end of the seam to another (capillarity) - this
works extremely well, and can be used to get the glue in the otherwise hard
to reach places.
A trick I used was to get the foam makeup triangles and use rubber
cement to glue the sandpaper to the triangles. After a part of the
sandpaper was exhausted, I just cut that off with scissors. This is
flexible, yet firm enough to be positioned easily.
To get a mirror polish on
fiber optic ends as well as correcting surface mistakes on the plastic,
gradually go from rough sandpaper to soft, and then just use a piece of
cardboard that's been roughed up for the finishing touch.
Producing a lit model is a
huge deal. If you cross reference the instructions I was given for
model construction and my web log, you'll see that all I did (essentially),
is understand how they wanted me to build it, then toss the instructions out
the window and figure out the rest!
Your best friends for a lit
model are thin-gauge wire, reflective Mylar adhesive paper and onion skin
paper (to diffuse the light) and super glue. Caulk is also extremely
handy for preventing light leakage - I used this to prevent leakage in the
impulse engines (1/6/02).
Aside from running the wires
and the physical mechanics of putting lights in your model where they need
to be, the other factor here is paint and putty to control light leakage.
Put putty (I used Model Master red) in strategic places, and ensure all
externally-facing seams are totally sealed.
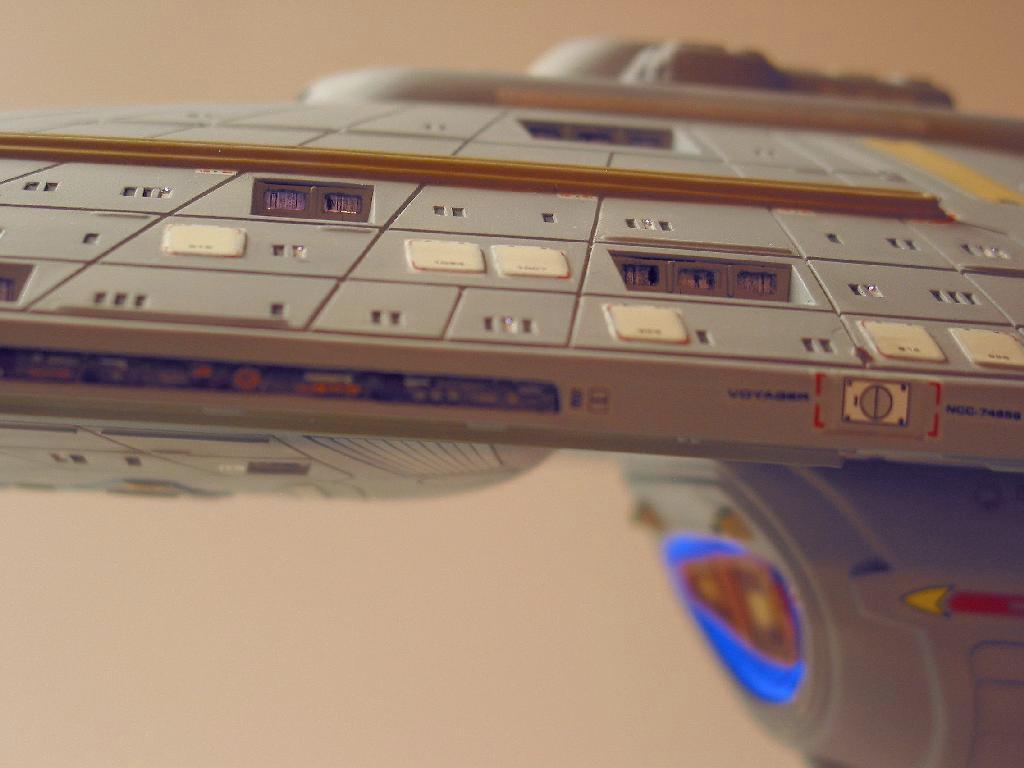
The Voyager hull has multiple
layers of paint intended to mirror the light and keep the light
inside the model. The inside of the entire hull was painted silver,
then the hull was primed with silver, then all the windows (or anywhere else
where light would probably leak) was painted black. Reference
8/7/02.
To keep the bussard collectors
red and the warp coils blue on a single nacelle, I used silly putty in
between the two sections. Reference
11/23/01 and 1/4/02.
After a long
thought process, I opted to use LEDs entirely. This seemed a more
energy efficient approach, as well as the fact that it allows for more
controlled lighting than just about anything else.
Something that
occurred to me in this thought process was the fact that incandescent bulbs
generate heat, which in the confined space of a model will cause
overheating, thus causing decal peeling, changing of paint color as well as
burning out your bulb which can't be easily replaced.
White LED's are
more expensive, but are better overall. Note that as of the time of
this Project, white LEDs are relatively new and their color is inconsistent.
Get your LEDs in groups, then identify the hue and brightness of each unit
and put them where you think it's appropriate. On the Voyager there
are white LEDs that have a bluish tint - these were put in symmetrical
positions making the slight color difference look intentional.
I used fiber for
just about everything in this model. Thin diameter for the windows and
large diameter for external indicator lights as well as the insignia light (8/18/01).
When using large
diameter fibers, always polish the ends perfectly with increasing grades of
sandpaper and finally roughed-up cardboard. Anything else will either
cause yellowing of the light or extreme light loss.
Super glue works
best when dealing with fibers.
You can use small
diameter shrink tubing (NOT shrunk, unless you need the stiffness to guide
the fiber) to protect the fibers internally, as well as prevent light
leakage.
Large diameter
fiber can be bent at angles by holding an end with needle-nosed pliers
(protecting the end from the heat) and gently heating it over the back of a
soldering iron. The sharper the angle, the higher percentage of light
loss.
There's just too
much information for the use of fiber optics in modeling - you'll probably
just need to review the Web Log to get it all.
All I can say about decals is
practice, practice..! These things require a phenomenal amount of
dexterity and attention to detail. I already documented all I could in
the Web Log, 8/10/01. Hope it
helps!
Come to think of it, I can add
one more thing - experiment with your flat enamel after final decal
application just to make damn sure your decals don't haze over like mine
did! A last coat of enamel is important, but select which one
you use carefully.
It's very likely that you'll
damage at least one of the decals in the course of their application or when
otherwise working with the model. While frustrating, I've learned that
it's not unrecoverable as long as you keep the decal parts wet and are extremely
patient during the repair. Make careful use of your decal solvent - it
helps bind decals to the plastic, but also makes them staggeringly
fragile.
In case of emergency, you can mix 75% warm water to 25% Elmer's while
glue. Put this in the area of the decal and reassemble the pieces.
I've found there are two methods -
"I Meant To Do That" and actually performing a repair...
Personally I think this is where
most "Battle Damaged" starship models come from, because it's damn hard to do a
repair and make it look perfect.
If you reduce the scale of your perspective, even a perfect ship can be
hiding mistakes. The best way to learn is by example and being
creative. For example, my stucco paint job (9/29/02)
wasn't completely erasable as if you look at the bay windows they're a
little rough. But, if you make it the same all over the ship and
symmetrical in other places, it looks intentional.
In painting the base for the model, I attached masking film to the
silver part before it was dry, totally trashing the results. I used
a wide paint brush and copious amounts of paint and brushed the paint all
in the same direction - worked out just fine.
On the underside of the shuttle landing area I made a mistake when
using the airbrush to highlight - I just made sure I made the exact
mistake on the other side. (Wink)
You get the idea.
This is actually a lot more
complicated because it requires putting the plastic (or paint, decal, whatever)
back to its state before damage, then doing what you wanted to do with it in the
first place. Other than patience, experience and comfort with your tools,
there's nothing to recommend. Good luck!
Reference 8/26/01 for one of my
experiences here with a 5x magnification of the result at
port_fore_3.jpg.
|
|
